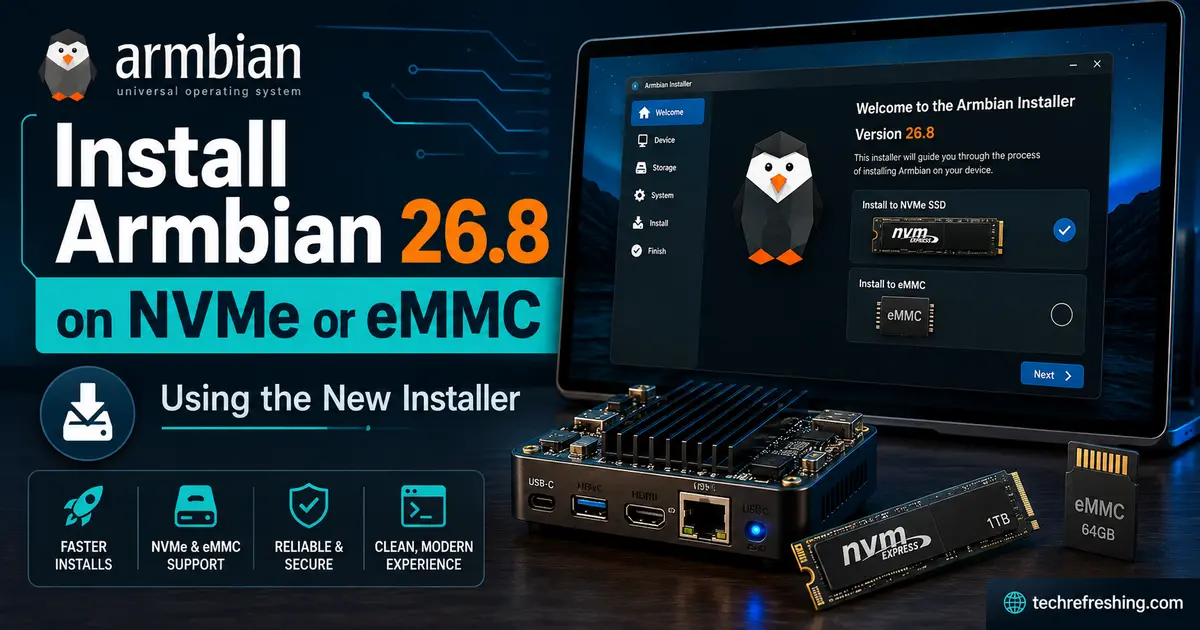
How to Install Armbian 26.8 on NVMe or eMMC Using the New Installer
Running Armbian off a microSD card works, right up until it doesn’t. Cards wear out under constant write activity, random I/O is slow, and on boards with real horsepower a microSD card becomes the bottleneck long before the CPU does. That’s why so many Armbian users eventually move their system to something faster and more durable. This guide covers how to install Armbian 26.8 on NVMe or eMMC using the rewritten installer that shipped with this release, including where the bootloader actually needs to live, how SPI fits in on boards that use it, and how to confirm afterward that your board is really booting from the drive you think it is.
This isn’t a rehash of the release announcement. It’s a walkthrough for the actual task: getting your system off the SD card and onto internal or NVMe storage without guessing at menu options that may not exist on your board.
What’s New With the Installer in Armbian 26.8?
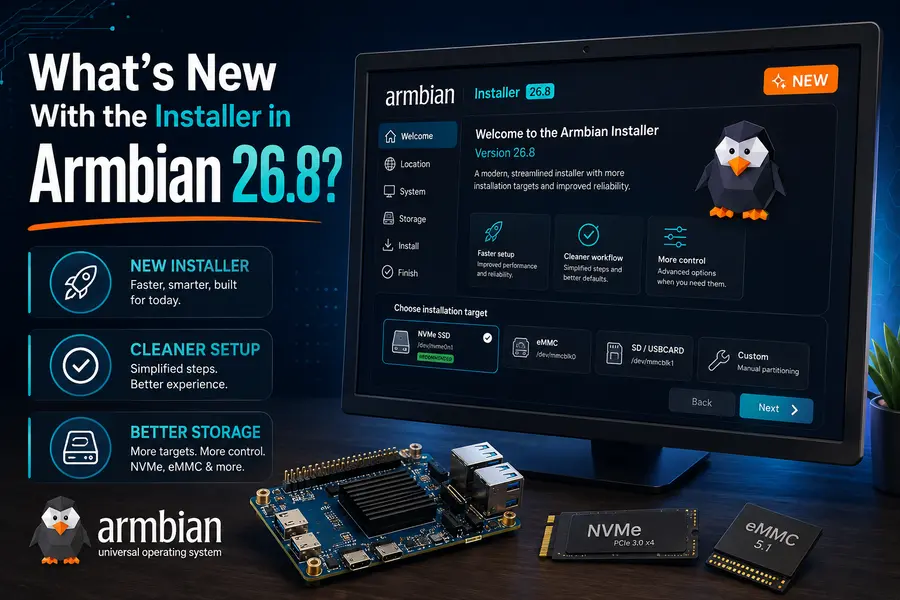
Armbian 26.8 shipped with a rewritten installer, and the change is more than cosmetic. According to Armbian’s release notes, the installer now ships as an armbian-config module rather than a standalone script, which means it’s unit-tested the same way the rest of armbian-config is. That matters to you as a user mainly through reliability: fewer edge cases where the installer half-completes and leaves you guessing.
A few practical changes stand out:
- eMMC and NVMe are handled as separate installation flows. Armbian’s team has said explicitly that earlier versions of the installer treated these targets as more or less interchangeable, even though the practical requirements — partitioning, bootloader placement, boot firmware behavior — differ significantly between them. The new installer no longer collapses that distinction.
- SPI and MTD targets can be addressed where the board supports them. On boards that boot through SPI NOR flash, the installer can be involved in that step instead of leaving it entirely to manual
ddcommands or board-specific scripts. - The bootloader can be flashed on its own, separately from copying the root filesystem. This is useful if you only need to update or repair the bootloader without redoing the whole install.
- Bootloader write failures are now reported. Previously, a failed bootloader write could complete silently, and you wouldn’t discover the problem until the board failed to boot. The new installer is designed to surface that failure instead of just printing a success message and moving on.
For an ordinary user, the upshot is that the installer now asks (and answers) different questions depending on whether you’re targeting eMMC or NVMe, instead of presenting one generic “install to internal storage” flow and hoping it applies to your hardware. The module itself is developed in the open in the armbian-config repository, if you want to see how the installer logic is actually built.
NVMe vs eMMC vs microSD: Which Should You Use?
There’s no universally correct answer here — it depends heavily on what your board actually supports and what you’re using it for.
| Storage | Typical Strength | Typical Limitation | Best For |
|---|---|---|---|
| microSD | Cheap, removable, works as a starting point on almost every board | Slower random I/O, wears out under heavy writes, least durable | Initial setup, testing, low-write workloads |
| eMMC | Faster and more durable than microSD, often built into the board | Fixed capacity, not always present or replaceable, capacity usually modest | Boards with onboard eMMC where compactness matters |
| NVMe SSD | Highest potential throughput and capacity, replaceable, widely available | Requires PCIe connectivity and often an adapter/HAT; not every board exposes it | Boards with real PCIe bandwidth, storage-heavy or I/O-heavy workloads |
A word of caution on NVMe: a fast SSD doesn’t automatically mean fast storage on your SBC. Many boards expose NVMe over a single PCIe lane, sometimes at an older PCIe generation, which caps throughput well below what the SSD is capable of on a desktop motherboard. Check what PCIe link your specific board actually provides before assuming you’ll see full NVMe-class speeds.
eMMC modules also vary enormously between boards — some are soldered on, some come on removable modules, and capacity is usually fixed at whatever the board or module was manufactured with.
Before You Start
Work through this checklist before touching the installer:
- Confirm you’re running a supported Armbian 26.8 image for your specific board.
- Have a reliable microSD card ready if your board needs one to boot initially — most of this process starts from a working Armbian boot, not from a blank board.
- Have the target NVMe SSD or eMMC module physically installed, including any adapter or HAT the board requires for NVMe.
- Make sure your power supply is adequate. NVMe drives, in particular, can draw more current than some SBC power adapters were sized for.
- Back up anything important. The installer will normally overwrite the target device, including any data currently on it.
- Have a stable network connection if you plan to update packages first.
- Have either a display and keyboard or SSH access to the board.
- Double- and triple-check which device you’re about to select as the install target before confirming anything.
Check Whether Your Board Supports NVMe or eMMC Installation
Armbian supports a wide range of SBC architectures, and not every board supports both NVMe and eMMC — some support neither as an internal-storage target, some support one, and some support both with different bootloader requirements for each.
Before proceeding, check:
- The Armbian board page for your specific device.
- Documentation from the board manufacturer, particularly around whether NVMe is wired to a real PCIe lane or just physically present on an M.2 slot without functional PCIe.
- Whether your board has onboard or removable eMMC at all — plenty of boards simply don’t.
- Whether NVMe boot on your board depends on SPI firmware, since some boards need a small SPI-resident bootloader stage before they can reach an NVMe drive.
- Whether your board requires a microSD card just to get to the point where the installer can run.
The full list of supported hardware, sorted by support tier, is maintained on Armbian’s download page — start there rather than relying on a general guide like this one for board-specific compatibility.
Don’t assume that because a guide, forum post, or this article describes a general concept, your specific board supports it. Verify against your board’s own documentation.
Step 1: Boot Armbian 26.8
In the typical workflow, you start from a working Armbian 26.8 installation — usually booted from a microSD card, though some boards can boot Armbian directly from eMMC or another source depending on their design. From there, you’ll run updates and then launch the installer to move the system to NVMe or eMMC.
Step 2: Update the System Before Installation
Before installing to new storage, bring the running system up to date:
sudo apt update
sudo apt full-upgrade -y
apt update refreshes the package index so the system knows what’s currently available, and apt full-upgrade applies any pending updates, including kernel and bootloader-related packages, before you copy the system elsewhere.
Step 3: Start the Armbian Installer
With Armbian 26.8’s installer now living as an armbian-config module, you can reach it either through the dedicated armbian-install command or through armbian-config itself, since the installer functionality has been folded into that tool. The standalone command remains the more direct route:
sudo armbian-installAfter launching it, expect the installer to detect connected storage devices and present installation choices based on what it finds — which devices are available, whether SPI/MTD targets are present on your board, and which flow (eMMC or NVMe) applies. The exact options you see will depend on your hardware; don’t expect to see a choice that isn’t relevant to your board.
Installing to NVMe
How to Install Armbian 26.8 on NVMe
- Confirm the NVMe device is detected. Before opening the installer, it’s worth checking that Linux can already see the drive with
lsblk. If it isn’t listed, resolve that first — the installer can’t target a device the kernel hasn’t detected. - Start the installer with
sudo armbian-installas described above. - Select the NVMe-specific installation flow if the installer presents one for your board. Since Armbian 26.8 treats NVMe and eMMC as separate paths, you should see NVMe listed as its own target rather than lumped in with other internal storage.
- Choose the correct target disk carefully. This is the step where mistakes are costly — selecting the wrong device can overwrite something you didn’t intend to touch.
- Choose a filesystem for the root partition (see the filesystem section below).
- Pay attention to bootloader placement. Depending on your board, the bootloader might go on the NVMe drive itself, on SPI flash, or remain on the microSD card while the root filesystem moves to NVMe. The installer should indicate what it’s doing; don’t assume it matches what another board does.
- Let the installation complete. Avoid interrupting the write process.
- Shut down or reboot as instructed once the installer finishes.
- Decide whether to remove the microSD card. This depends entirely on your board’s boot configuration — some boards still need the SD card present (for example, if it holds the bootloader stage), while others boot entirely from NVMe once installed. Don’t remove it until you’ve confirmed the board actually boots without it.
When SPI Is Needed for NVMe Boot
Some boards can’t jump straight from power-on to an NVMe drive. Their boot ROM knows how to read SPI NOR flash, but not how to read NVMe directly. On those boards, the sequence is:
SPI flash holds a small bootloader stage → that bootloader stage knows how to find and load the operating system from the NVMe drive.
Whether this applies to you depends entirely on the board. Some boards have no SPI flash at all and boot NVMe directly through firmware that already understands PCIe storage; others require the SPI step described above.
Where a board needs this, Armbian 26.8’s installer can handle the SPI/MTD flashing as part of its supported workflow rather than requiring you to write bootloader images manually with low-level tools. Stick to the installer’s supported path here rather than improvising with raw disk-writing commands — an incorrect write to SPI flash can be harder to recover from than a bad write to a removable SD card.
Installing to eMMC
How to Install Armbian 26.8 on eMMC
The eMMC flow isn’t just “the same steps as NVMe, different target.” It has its own considerations:
- Confirm eMMC is detected, again using
lsblkbefore you even open the installer. - Start the installer with
sudo armbian-install. - Select the eMMC-specific flow. Because Armbian 26.8 no longer treats eMMC and NVMe interchangeably, expect this to be a distinctly labeled option rather than a generic “internal storage” choice.
- Choose the target carefully, especially on boards where eMMC and other storage devices could be confused for one another in the device list.
- Select a filesystem.
- Understand where the bootloader will live. On many boards, eMMC has a dedicated boot partition or hardware boot area separate from the general storage area — the installer typically handles placing the bootloader correctly there, but this is board-specific behavior worth being aware of rather than assuming.
- Complete the installation and avoid interrupting the process.
- Reboot once the installer indicates it’s finished.
- Verify the system is actually running from eMMC rather than still running from the SD card (see the verification section below).
Treating eMMC and NVMe as separate flows matters in practice because their failure modes and requirements genuinely differ — a partitioning approach or bootloader placement that’s correct for NVMe isn’t automatically correct for eMMC, and vice versa. A single generic flow either has to guess or ask the user to make decisions they may not have the context to make correctly.
Filesystem Choice
ext4 or Btrfs?
For most people installing Armbian 26.8 to NVMe or eMMC, ext4 remains the sensible default. It’s mature, predictable, and well understood across the Linux ecosystem, with no unusual failure modes to plan around.
Btrfs is worth considering if you specifically want its features — snapshots, built-in checksumming, or easier volume management — and you’re comfortable with the additional complexity that comes with them. It’s a reasonable choice for more experienced users who have a specific reason to want it, but it isn’t a requirement for a solid NVMe or eMMC installation.
If you’re not sure which one you need, that’s a good sign you should pick ext4 and move on.
Verify the Installation
How to Check That Armbian Is Really Running From NVMe or eMMC
Don’t just assume the installer worked — confirm it. After rebooting, check what your root filesystem is actually mounted on:
findmnt /This shows the device currently mounted as /. You’re looking for something like an NVMe device (commonly shown as nvme0n1p* — the exact number depends on your system) or an eMMC device (commonly mmcblk*), rather than the microSD card you started from. These are examples only; actual device names vary between systems.
You can also get a broader view of connected block devices with:
lsblkThis lists every detected block device and where each partition is mounted, which is useful for confirming both that the NVMe or eMMC device is present and that your root filesystem is where you expect it to be.
If findmnt / still points at your SD card device after installation and reboot, the system hasn’t actually switched over — check your bootloader configuration and boot order before assuming anything is broken at the filesystem level.
What To Do After Installation
- Confirm the root filesystem location again after a second reboot, just to be sure the result is consistent and not a fluke of the first boot.
- Verify networking is working normally.
- Check available storage space with
lsblkordf -hto confirm the full capacity of the new drive is being used. - Run
sudo apt update && sudo apt full-upgrade -yonce more now that you’re running from the new storage. - Keep the original microSD card around for a while as a fallback, rather than immediately reformatting it.
- Only repurpose or erase the SD card once you’re confident, across multiple reboots, that the new installation is stable.
Troubleshooting
Armbian Won’t Boot From NVMe or eMMC
NVMe Not Detected
Check the physical connection first — reseat the drive and confirm the adapter or HAT is properly connected if your board requires one. Confirm the board’s PCIe lane is actually wired to the M.2 slot you’re using; some boards have M.2 slots that aren’t fully connected to PCIe. Insufficient power can also cause a drive to fail to enumerate, particularly on boards with modest power budgets. If the drive still isn’t visible, check what Linux itself sees with lsblk before assuming the drive itself is faulty.
eMMC Not Detected
First confirm your board actually has eMMC support at all — not every board does, and this is easy to assume incorrectly. On boards with a removable eMMC module, reseat it. Beyond that, treat it as board-specific: consult your board’s documentation for known eMMC quirks.
Installation Completes but Board Won’t Boot
There’s a meaningful difference between three separate things: the root filesystem being copied successfully, the bootloader being written successfully, and the bootloader actually knowing how to find the root filesystem afterward. A failure in any one of these can leave you with a board that won’t boot even though the file copy itself succeeded. This is exactly the scenario Armbian 26.8’s improved bootloader-write reporting is meant to help with — check whether the installer reported any bootloader write issue rather than assuming a silent success.
Installer Reports a Bootloader Write Failure
Take this seriously rather than assuming the installation still worked. A reported bootloader write failure means the boot chain may be incomplete, even if the rest of the process looked fine. Don’t respond by repeatedly rewriting the bootloader storage without understanding why it failed the first time — on some boards, especially those using SPI flash, repeated blind writes can make recovery harder rather than easier. If you’re unsure, consult your board’s documentation for its specific recovery procedure before trying again.
Wrong Drive Selected
The best fix here is prevention: confirm the target device carefully before you confirm the install, using lsblk beforehand to know exactly which device corresponds to which piece of hardware. If the wrong drive was overwritten, don’t expect guaranteed recovery — treat it the same as any other accidental data loss and act accordingly.
NVMe or eMMC — Which Would I Choose?
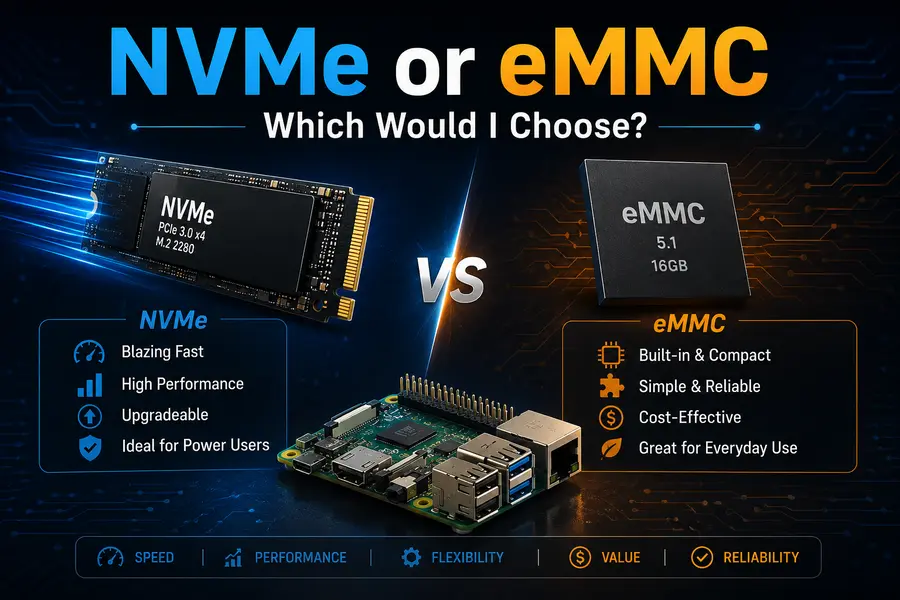
Choose NVMe when:
- Your board genuinely supports it with real PCIe bandwidth, not just a physical slot.
- You need more storage performance or capacity than eMMC options provide.
- Fitting an SSD (and adapter, if required) into your build is practical.
Choose eMMC when:
- Compactness matters and you’d rather avoid extra hardware.
- Your board has eMMC built in or well-supported as a first-class option.
- You don’t need NVMe-level throughput for your workload.
- Fewer external components and connections appeals to you.
Neither is universally better — the right choice depends on your board’s actual capabilities and what you’re running on it.
FAQ
Can Armbian 26.8 boot directly from NVMe?
On boards where NVMe is properly wired to PCIe and the boot firmware supports it, yes. On others, the board needs to boot through SPI flash first, which then loads the system from NVMe. It’s entirely board-dependent — check your board’s documentation.
Can I install Armbian without an SD card?
On some boards, yes, if they support booting directly from eMMC, USB, or another source without an SD card being involved at all. On many others, the standard workflow expects you to boot from a microSD card first and use it to run the installer.
Is NVMe faster than eMMC on Armbian?
NVMe has higher theoretical throughput, but the actual result depends on how much PCIe bandwidth your specific board exposes to the NVMe slot. A board with a single PCIe lane won’t deliver desktop-class NVMe speeds, even with a fast SSD.
Can I move my existing Armbian installation to NVMe?
The supported path is to use the Armbian 26.8 installer to write a fresh installation to NVMe rather than attempting to clone an existing SD card installation manually. This avoids partition and bootloader mismatches that manual cloning can introduce.
Do I need SPI to boot Armbian from NVMe?
Only if your specific board requires it. Some boards boot NVMe directly through firmware that understands PCIe storage; others rely on an SPI-resident bootloader stage to reach the NVMe drive. Check your board’s documentation.
Should I choose ext4 or Btrfs?
ext4 is the sensible default for most users. Btrfs is worth considering only if you specifically want its snapshot or checksumming features and are comfortable with the added complexity.
Can I remove the microSD card after installing Armbian to NVMe or eMMC?
Sometimes, but not always. Some boards need the SD card present for part of the boot chain even after the main system has moved elsewhere. Confirm the board boots reliably without the SD card across multiple reboots before removing or repurposing it.
Conclusion
Armbian 26.8’s rewritten installer makes the process of installing Armbian to NVMe or eMMC noticeably clearer than it used to be, mainly by treating those two targets as genuinely different flows instead of one generic “internal storage” option, and by telling you when a bootloader write fails instead of leaving you to find out at the next boot. Whether NVMe or eMMC is the right choice still comes down to your specific board and what you’re using it for — there’s no single correct answer that applies across all Armbian-supported hardware. Whichever path you take, the two things worth double-checking are your bootloader configuration and the actual root device Armbian is booting from after a reboot, using findmnt / and lsblk rather than assuming the installer’s summary screen is the final word. That verification step is what separates an installation that looks finished from one that’s actually reliable.
Disclaimer: This guide is independent and not an official Armbian publication. Menu names, supported storage, and bootloader behavior vary by board and can change in future releases — always cross-check against your board’s own documentation and the official Armbian release notes before making storage or bootloader changes.
About the Author